
A while ago there was an event, organized by a member of my clan. He asked me to make a fantasy looking saber, which both had to look really good, as it was going to be used as a quest item, and be safe enough to be used as a weapon during the game.
I did some searching online and found a beautiful saber, which I decided I would try to copy:

So basically the materials I used for this tutorial are as follows:
- A piece of polypropylene tube
- Closed cell foam, 5mm thick, typically used under laminated floors and quite cheap :)
- Cardboard - enough to cover both sides of the blade. I found that one that works best is the one used for packages of chocolate candy, cornflakes, cookies and so on - if it is thicker it would hurt a lot when hit with the weapon, and if too thin it would crease too much.
- Duct tape
- Double-sided tape
- Electrician's tape
- L-shaped plastic profile, twice the length of the handle
- Leather
- Polychloroprene glue - I find it most convenient, as it is very strong, after curing it is still elastic and durable, and it is quite versatile, as it glues almost anything to anything. Plus it's cheap.

- Heat gun
- Scissors
- Sharp blade
- Hacksaw
- Marker
- File
Start by cutting the tube to size. It should be about 5-6 centimeters shorter than the intended length of the saber itself.

Next step is a tricky one - this is the time when the tube should be heated with the heat gun and bent. I wanted to make an even curve with the handle bent to the opposite direction, so I had to do it in two stages. First I heat the blade's entire length evenly, without stopping too much on a single spot, while applying constant pressure from the spot where the hilt is going to be in order to avoid bending the handle in the direction of the blade. Allow it to cool and judge if the bend is enough. If not - reheat and repeat.


After I was satisfied with the shape of the blade I heated the base of the handle and bent it. While I waited for it to cool down I used the time to file the rough edges of the tube.

Now it was time to start working on the guard. First I drew a rough sketch o a piece of thick cardboard:

Then I mirrored it:

And copied it:

Glued one side of the two mirrored pieces:

And then glued the rest to the pipe.

Here it's ready for the next stage:

Then I cut two pieces of the L-shaped plastic profile and glued them to the back and front of the handle. Here you can see them held together by cable ties while waiting for their glue to cure:

Then i took a cloth piece, roughly 6cm wide and glued it tightly around the handle. I wrapped it by overlaping roughly a half of the width of the previous layer and secured it with a cable tie while the glue cured:

Then I traced the shape of the pipe on a sheet of closed-cell foam and drew the desired shape of the blade:

The shape is roughly cut and the core is traced on 4 more sheets:


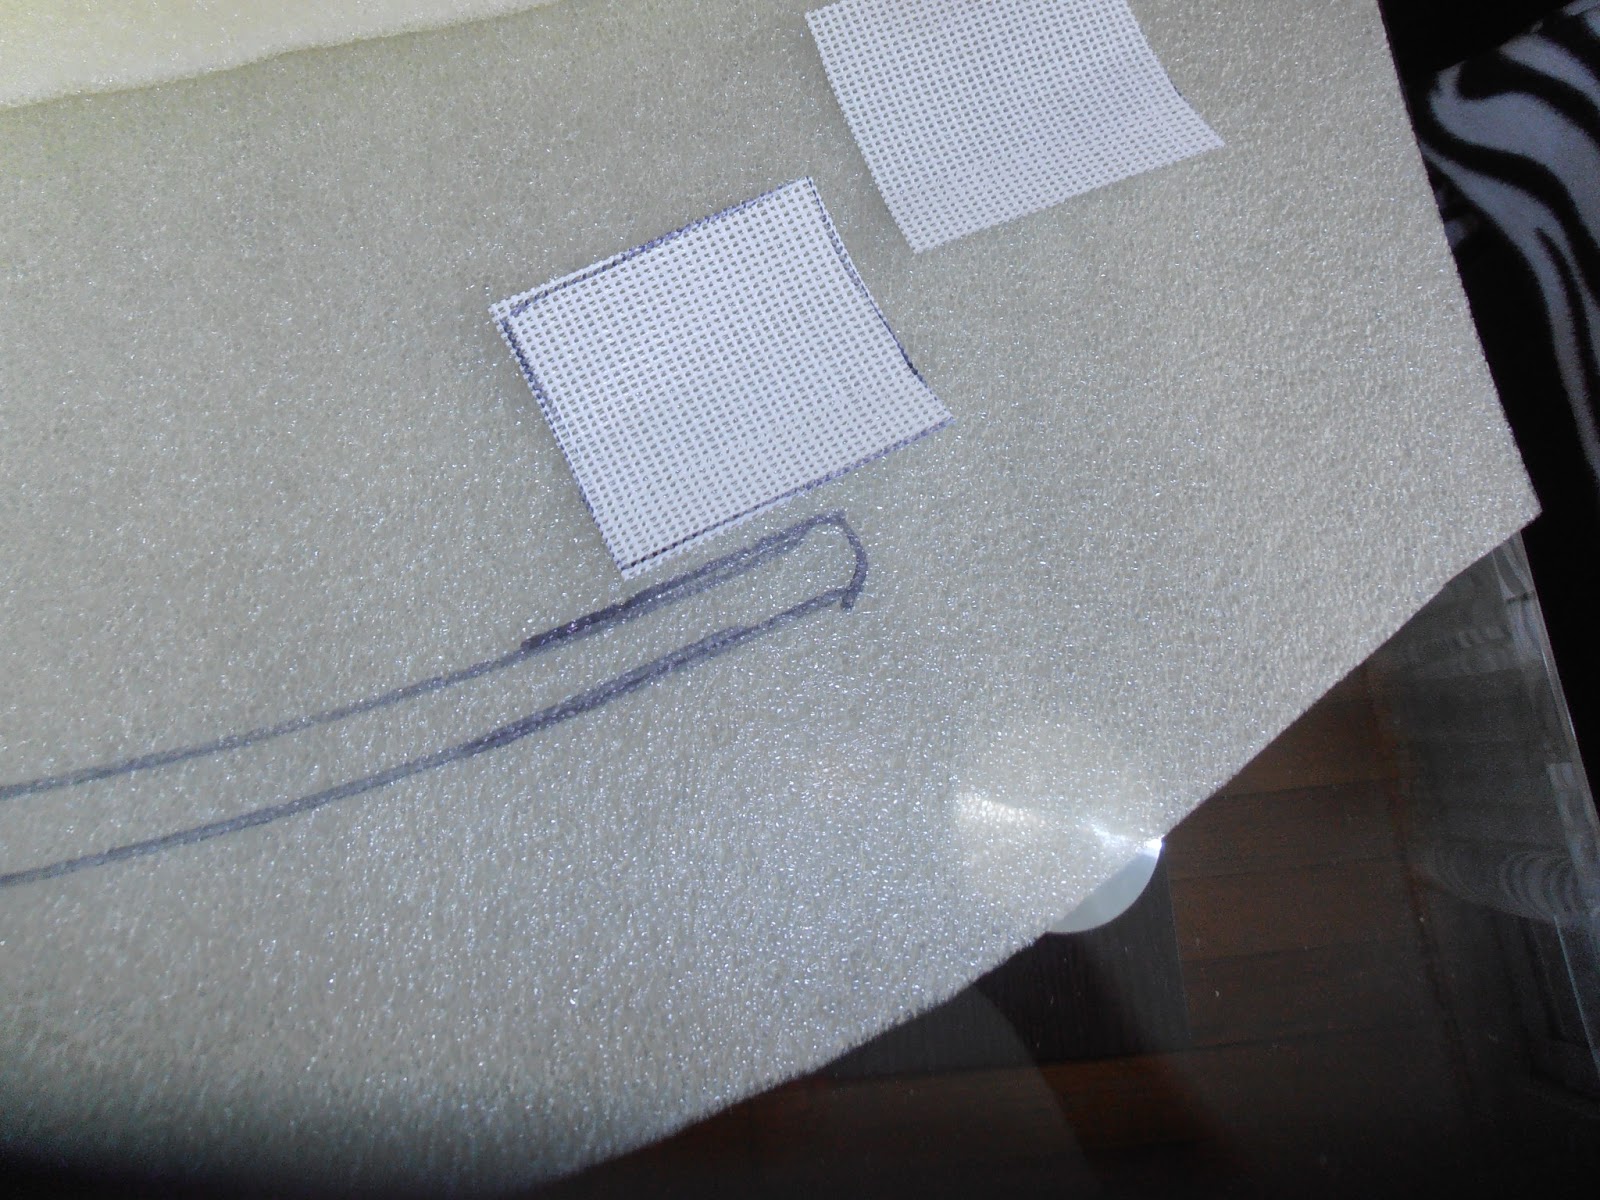
At this point I remembered that a friend of mine gave me a lage piece of PVC mesh. It's extremely durable, as it is used for huge advertisement billboards, so I decided it would work nicely as strengthener for the tip of the blade, preventing the tube from tearing through the foam while using thrusts. I cut two roughly square pieces, around 7 cm wide and glued them to the inner side of the outmost layers of foam:


Then I took one of the outmost layers and started covering its inner side with two-sided tape:


Then taped the three layers and covered the inside of the slot for the core with two-sided tape:

Inserted the core:

Then covered it with two-sided tape and covered it wih the last layer of foam:

Now it was time to start cutting the whole thing to achieve he final shape. First I started cuting along the outer lines:


And then started cuting at an angle, to make the blade look sharp:


At this point the blade still looks a bit rough, but don't worry, it'll be covered with cardboard, which'll make it look smooth

A bit trimming on the back as well:

Some duct tape to strengthen the entire thing:


Now I start tracing the sape of the blade on come cardboard. I trace the hitting surface about 5 mm smaller, so that hits are not made with the cardboard reinforced part. Started with the most complicated part:

Mirored it:


Test fitting:

Tracing the fold lines with the tip of the scissors:

Folded:

Then it was the time for the double sided tape

And the piece in its place:

Now the tip of the blade:

Tracing the folding lines:

A small cut to make folding easier:

Held in place with double sided tape and duct tape:

Repeat with the other sections of the blade, until it's all covered with cardboard:

The finished blade - all covered with cardboard and duct tape:

Now it's time to get back to the guard. I used double sided tape to cover the cardboard with foam and some tape to hold it in place:


After sticking two layers of foam I started to cover the front and back of the guard as well, so there are no hard edges:

At this point I stopped taking photos, because I had only a couple of hours before the game starts, so I was in a great hurry :D However the only thing I couldn't photograph is the covering of the guard with tape and covering the grip with hemp cord. I used the same glue for securing the cord in place and for a pommel I made a cord cone, ending with a pompon.
And finally some photos of the finished saber:


